How to Run Local SEO Scans with GMB Radar’s Local Rank Tracker?
Sunday, June 5, 2022
Running a local SEO scan for your local business with GMB Radar's Local Rank Tracker is super easy, we will explore what are different options available and how one can create and run a scan.
Take a tour of GMB Radar
1: Create Account Or Login
gmbradar.com signup form
First thing is to signup for a free account on gmbradar.com, If you already have an account sign in .
Signing up is easy, click on the “GET STARTED FOR FREE” link on gmbradar.com home page, it will open a form, you provide some basic information like name, email and password etc. and gmbradar will send you an email with a verification link, once your email is verified you will have full functionality in gmbradar dashboard.
2: Add Your Local Business.
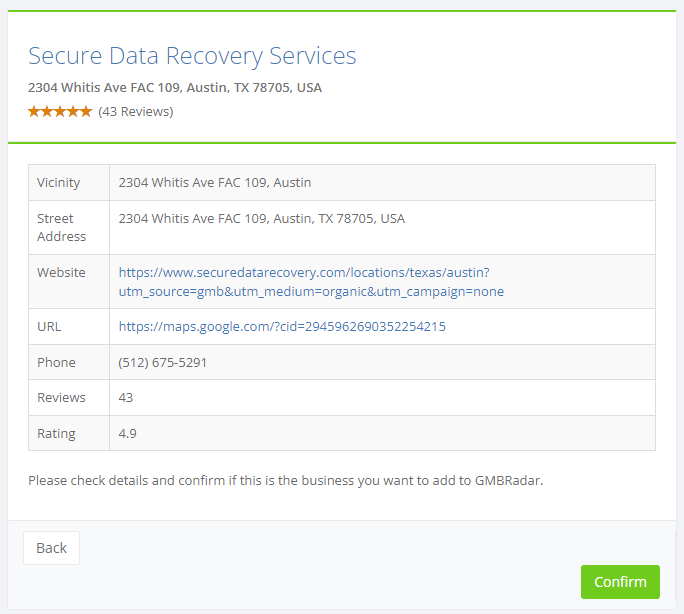
After you login, you will be redirected to “Mybusinesses” page, here you will see a green button with text “Add New Business”, click on that button, On new page start typing your business name, select the correct one from suggestions and click Next, it will show some information about your selected business, click Confirm.
3: Create New Local Rankings Scan.
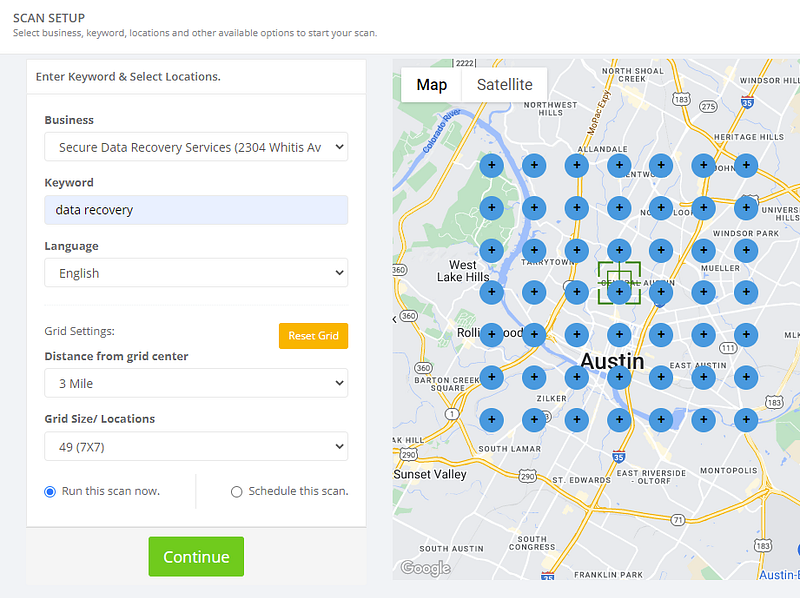
On “Mybusinesses” page, there is a link “+ Create Scan” click that to open the create scan page, or you can also go to this page from left side menu, (Click Scan from left menu and select “Create Scan”)
On this page, you will have many options to customize your scan , Enter your desired keyword, select the language , choose grid radius and number of locations. By default the grid center is same as the business location, but you can change it by dragging the green grid icon on the map, Its better to change the grid center if your target locations are far from your business location, for example your business is one corner of a city, but you want to target the whole city, so you should set the grid center to center of the city.
You can also add or remove locations manually, If you click anywhere on the map, the location will be added at that point, if you want to remove a location just click on that and it will be deleted.
Last option is the run the scan now (selected by default) or schedule it to run it later, If you choose to schedule it , you will need to provide the date, time and frequency etc. Lets suppose we choose to run the scan now, After setting the keyword, grid size and locations etc. Click the “Continue” button, The scan has started now, It will show a success message and redirect you to the scans page, When the scan is complete you will get a notification and also an email. You can click on the link if your email to view the report , all of your reports can be viewed from dashboard, (choose Scans > Reports from the left menu)
As a local SEO specialist, you will no doubt be familiar with the importance of local SEO reports. GMB Radar's local ranking reports are the best way to demonstrate business is currently ranking and how campaigns are progressing and what aspects need more attention.
It's essential to recognize that Google employs automated spam checkers to analyze reviews for inappropriate or misleading content. While these systems are generally reliable, there may be instances where inaccurate reviews slip through the cracks. Taking proactive steps to report the review can help address the issue and protect your business's reputation.
Duplicate or fake Google Business Profiles can harm your business's online presence and SEO. Learn how to report and remove these profiles, understand their causes, and follow best practices to avoid their creation and maintain your brand's authenticity.